Why does the Memory limit error happens ?
Sometimes when you execute a PHP script, you will notice that it returns an error like “Fatal Error: Allowed memory size of XX bytes exhausted”. This happens because the amount of memory allocated to the PHP script has exhausted, and as a consequence, the script cannot finish its execution. It’s already known as PHP Memory Limit error.
The amount of memory available to PHP is defined by the term memory_limit in your server’s PHP settings. With the help of cPanel, you can change this value to anything you like. How that can be done is described below.
How to fix this issue:
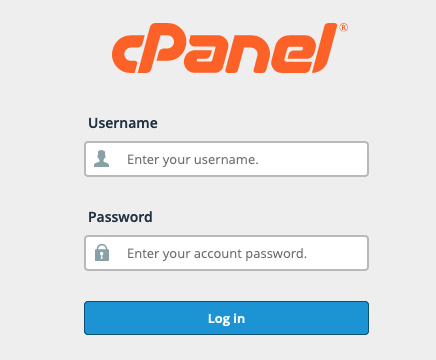
First, login to your cPanel account using your cPanel username and Password.
Once you are in the dashboard, go to Software -> Select PHP Version.

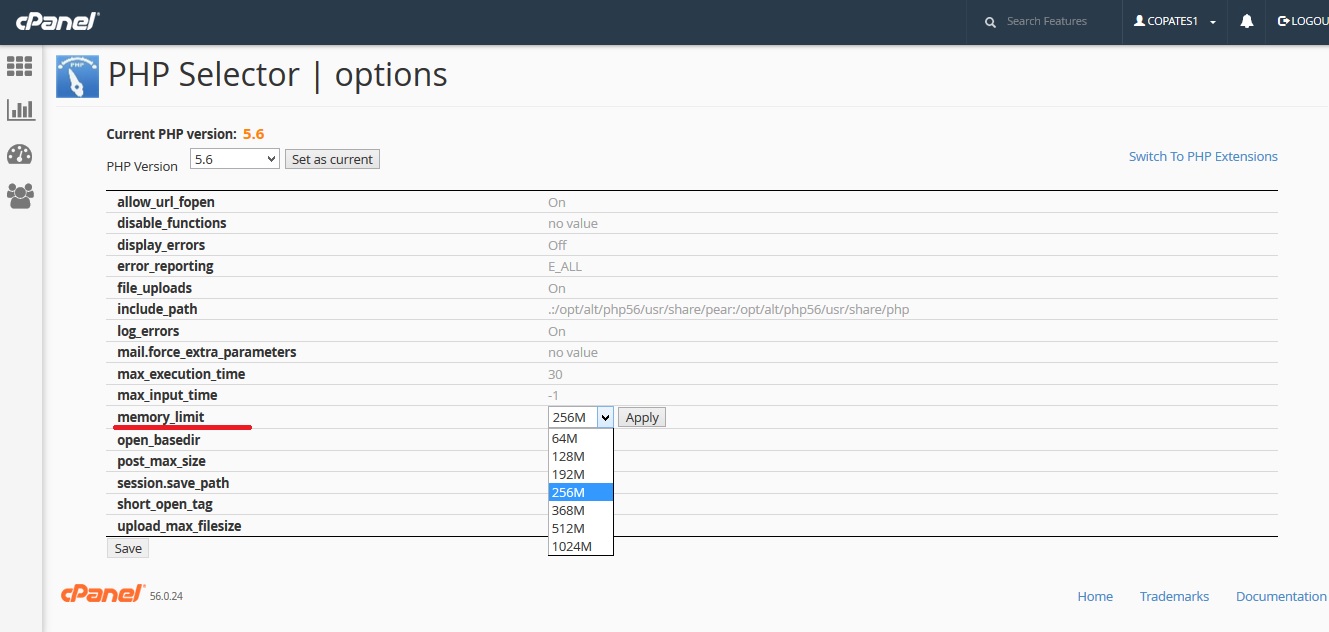
Click on it and it will take you to an interface where you can change the PHP version and select/deselect extensions. To the top right side of the page, you will see another option ‘Switch to PHP Options’.

Click on it and you will reach an interface which displays the various PHP variables and its associated values. They become gray by default. To change the PHP memory limit, click on the value to the right side of memory_limit. Then, a drop down will appear with possible values you can choose. Select the value you require and hit ‘Apply’. After that scroll down to the bottom and click on ‘Save’. Only then the changes will be fully applied.